25 Essential Metal Detecting Tips for Enthusiasts

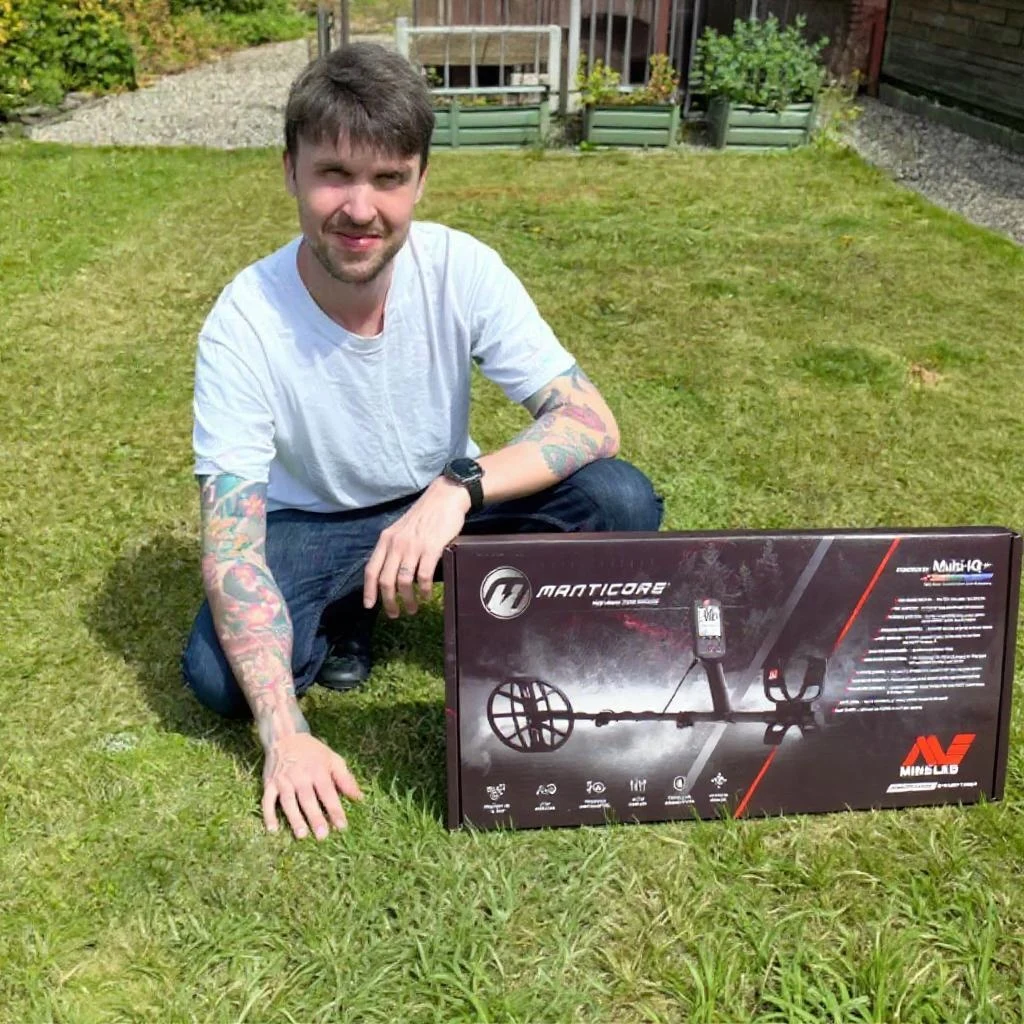
Written by Piotr Lesniewski
Detectorist • Scotland
As an Amazon Associate we earn commission from qualifying purchases. Read our full Affiliate Disclosure.
Metal detecting transformed my weekends from ordinary to extraordinary, and I’m convinced it can do the same for you. Whether you’re just unpacking your first detector or you’ve been unearthing treasures for years, mastering the fundamentals makes all the difference.
I’ve compiled my 25 most valuable metal detecting tips after a decade in the field—techniques that have led me to Civil War relics, colonial coins, and even gold jewelry that previous hunters missed.
Ready to discover what they’re missing?
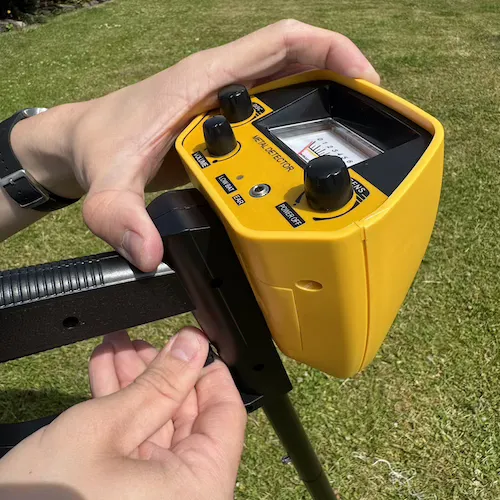
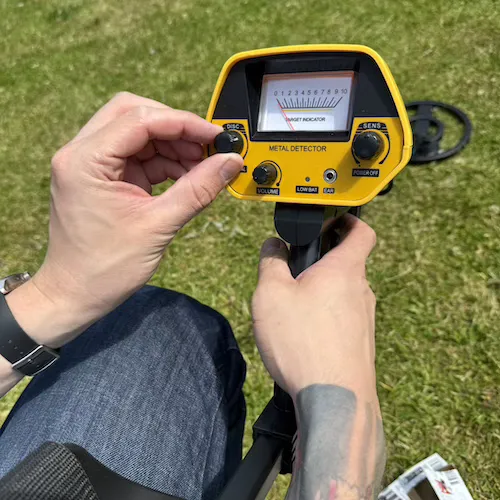
1. Know Your Metal Detector
Your metal detector is more than just a tool—it’s your gateway to hidden treasures.
I can’t stress enough how important it is to thoroughly understand your specific model before heading out to the field.
Read your manual cover to cover, and don’t skip the technical sections about sensitivity settings and discrimination features.
I recommend creating a “test garden” in your yard where you can bury various metal objects at different depths. This hands-on practice helps you learn exactly how your detector responds to different targets.
Watch instructional videos specific to your model, too—experienced users often share tricks that aren’t in the manual.
Key Takeaways
- Master your specific detector model’s settings before fieldwork through hands-on practice with a test garden.
- Adjust sensitivity settings based on soil conditions—start at 75% and modify according to mineral content.
- Maintain proper swing technique with the coil parallel to ground, using slow overlapping sweeps.
- Hunt after rainfall when wet soil enhances conductivity and allows for deeper detection.
- Carry essential accessories including quality headphones, pinpointers, and appropriate digging tools for your terrain.
2. Invest Wisely
When choosing your first beginner metal detector, resist the temptation to grab the cheapest option. I’ve seen many newcomers quickly outgrow entry-level models and end up spending more in the long run with upgrades.
Invest in the best detector you can reasonably afford.
However, don’t get caught up in features you won’t use. An overly complicated machine with dozens of settings can be frustrating when you’re just starting out. Look for a balance between quality and usability.
Consider your detecting goals, too. Beach metal detectorists need waterproof models with good salt compensation, while relic hunters benefit from better discrimination features.
3. Create a Test Garden
Establishing a test garden in your yard will dramatically improve your detecting skills before you head out to search for real treasures.
I recommend burying various items—coins, nails, jewelry pieces, and pull tabs—at different depths between 2-8 inches. Mark each item’s location with a small flag or use a map to track what’s where.
Practice over this controlled area until you can distinguish the sounds each object makes. You’ll learn how your detector responds to different metals, sizes, and depths.
This training ground lets you experiment with settings without the pressure of being in the field. I’ve found that just a few hours in a test garden can save you months of frustrating trial and error. It’s the perfect way to build confidence.
4. Master Ground Balancing
Mastering Ground balancing might seem technical, but it’s one of the most crucial skills for success. This setting helps your detector ignore mineralization in the soil, which can trigger false signals.
I recommend learning both automatic and manual balancing techniques. Start with your detector’s auto-balance function, then practice manual adjustments to fine-tune performance.
In highly mineralized soils like beaches or areas with iron, proper ground balancing is critical. You’ll notice improved depth, fewer false signals, and more accurate target identification once you’ve mastered this skill.
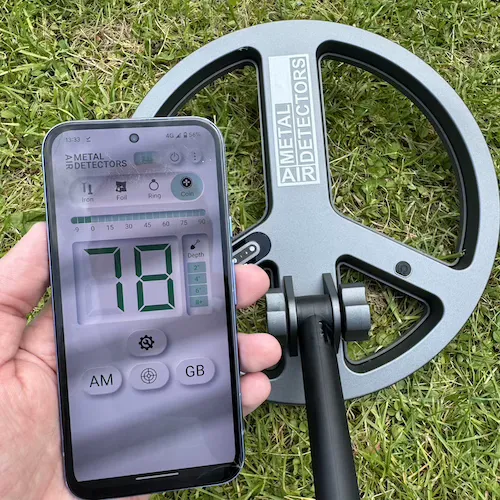
5. Understand Sensitivity
The sensitivity setting works hand-in-hand with ground balancing to determine how your machine reacts to buried objects. Think of it as adjusting your detector’s enthusiasm level.
I recommend starting at about 75% sensitivity for most hunting conditions.
You’ll need to dial it back when searching mineralized soil, near power lines, or other electronic interference. Conversely, in ideal conditions, you can push it higher for maximum depth.
Pay attention to how your detector behaves. If it becomes chatty with random beeps, you’ve gone too high. Finding that sweet spot takes practice but dramatically improves your success rate.
6. Learn Discrimination and Notch Features
In areas littered with junk, discrimination and notch features become your best friends. These settings allow you to filter out unwanted targets.
Discrimination helps you ignore entire categories of metals, like iron. Notching is more precise, enabling you to reject specific signal ranges—like those from pull-tabs—while still detecting coins and jewelry.
I recommend starting with minimal discrimination and increasing it as needed. Remember that high discrimination settings can sometimes mask good targets, especially if they’re near iron objects.
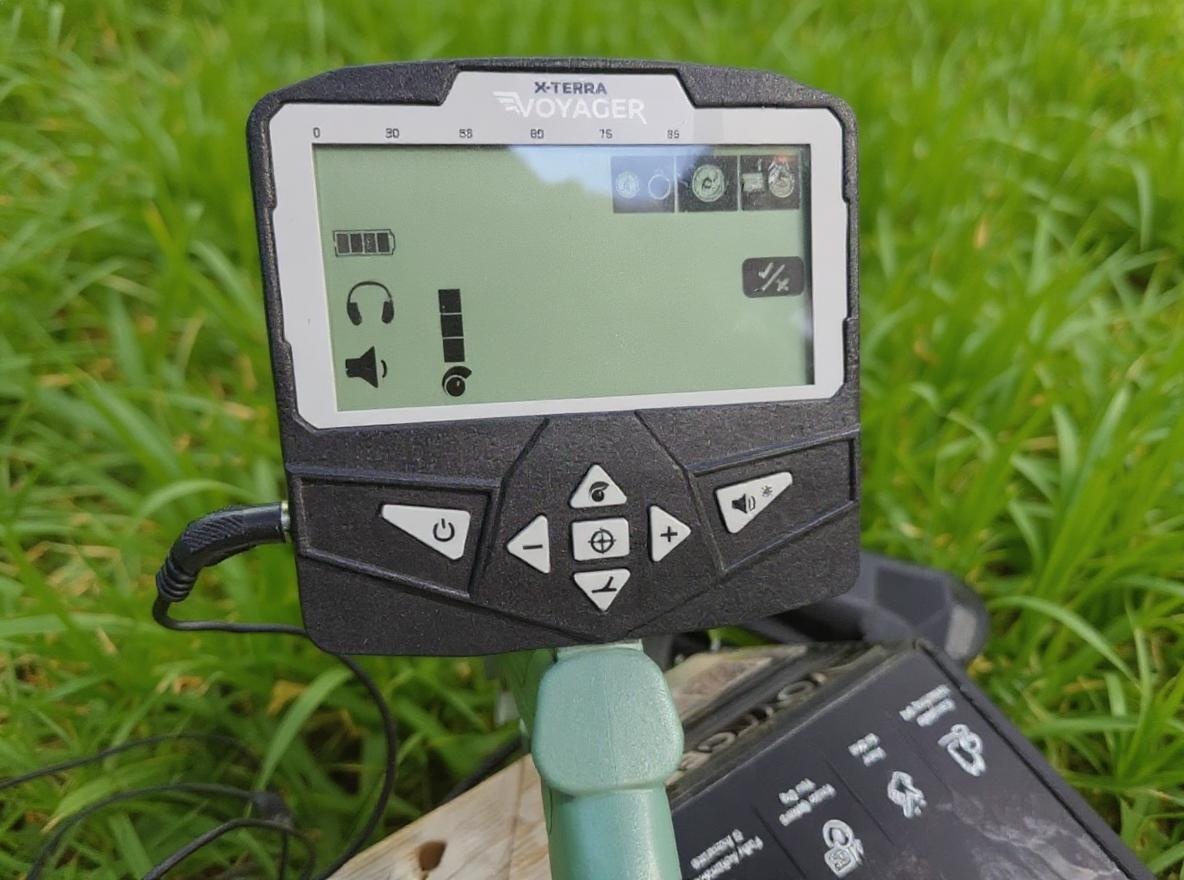
7. Coil Choice Matters
Many detectorists focus on settings while overlooking an equally important factor—your search coil. Coil size significantly impacts your success in different environments.
Larger coils (10-15 inches) cover ground quickly and detect deeper, making them ideal for open fields. However, they struggle in trashy areas where target separation is crucial.
For parks, playgrounds, or metal-dense locations, I recommend smaller coils (5-8 inches). They’re more sensitive to tiny objects and provide better discrimination.
Don’t hesitate to invest in an additional coil. The right coil for the right situation will dramatically improve your finds.
8. Headphones are Crucial
Quality headphones fundamentally transform your metal detecting experience.
This increased auditory clarity can mean the difference between finding a deep target or walking right over it. I’ve found that they help me hear faint signals that would otherwise be lost to ambient noise.
I recommend investing in headphones designed for detecting, as they offer volume controls and sound isolation. Wireless models have revolutionized the hobby by eliminating tangled cords.
Beyond the practical advantages, headphones also show respect for others in public spaces.
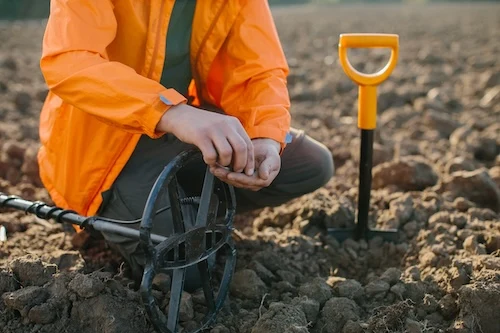
9. Get a Pinpointer
A pinpointer was the best £80 I’ve ever spent in this hobby, saving me countless hours of frustration.
This handheld device precisely locates items within your dig hole. Without one, you’ll waste time sifting through dirt or potentially damage valuable finds.
Modern pinpointers vibrate and emit audio tones that intensify as you get closer. Look for waterproof models if you hunt beaches or streams.
Don’t be tempted to skip this essential tool. You’ll recover targets faster and create smaller holes.
10. Invest in Good Digging Tools
Your choice of digging tools can make or break your success. A quality stainless steel trowel with depth markers is indispensable for most terrain.
For parks and lawns, I recommend a hand digger that creates clean, replaceable plugs. Don’t skimp on quality—cheap tools bend or break at the worst moments.
Always match your tools to your hunting location. For rocky areas, I carry a small pick, and for beaches, a long-handled scoop saves my back.
Keep your tools clean and sharp to extend their life.
11. Always Carry Spare Batteries/Charger
Running out of power mid-hunt is the fastest way to ruin a promising day. I’ve experienced that sinking feeling when your detector goes silent in a productive area.
I now carry at least one set of spare batteries for my detector and pinpointer. For rechargeable models, I bring a portable power bank.
Always check battery levels before heading out.
Remember that cold weather significantly reduces battery life, so in winter months, I keep spares in an inside pocket where body heat maintains their efficiency.
12. Wear Gloves
Protecting your hands with sturdy gloves isn’t just about comfort—it’s an essential safety measure. I’ve encountered countless sharp objects while digging, from rusty nails to broken glass.
I recommend leather or reinforced gardening gloves that balance protection with dexterity.
Gloves create a crucial barrier between your skin and whatever you might encounter beneath the surface, as soil can contain unseen contaminants.
13. Use a Finds Pouch
Organization is essential once you start finding items. I never hunt without a dedicated finds pouch.
I recommend getting one with separate compartments – one for trash and another for potential treasures. This prevents damaging valuable finds and makes disposal easier.
The best pouches attach securely to your belt and close properly. I’ve learned the hard way that open pockets often lead to lost finds when bending over.
A pouch with a clear window is a great feature for quick visual inspection.
14. Dress Appropriately
Appropriate clothing can make or break your metal detecting experience. I’ve learned that comfort is paramount when you’re spending hours in the field.
Invest in sturdy, waterproof boots with ankle support. Wear pants with reinforced knees to protect yourself when digging.
Layering is essential for changing weather conditions. Don’t forget gloves, a wide-brimmed hat, and sunscreen.
15. Research Your Locations
Successful detecting depends heavily on thorough location research.
Old maps, historical records, and local library archives are goldmines for identifying promising spots. Look for former gathering places where people might’ve dropped valuables.
Check historical aerial photographs, which can reveal structures that no longer exist. Don’t overlook town halls for records of demolished buildings.
Always obtain permission before detecting on private property. Approaching landowners with knowledge about their property’s history often increases your chances of getting access.
16. Proper Swing Technique
The proper swing technique is the foundation of successful detecting. Keeping your coil parallel to the ground, about 1-2 inches above the surface, dramatically improves quality.
Sweep the coil slowly in a side-to-side motion, creating overlapping paths.
Don’t lift the coil at the end of each swing – this common mistake causes you to miss targets. Maintain a consistent height throughout the entire movement.
Your pace matters, too. Rushing means missing signals.
17. Dig Everything (Especially at First)
When I first started, I quickly learned that digging every signal—even those that seemed insignificant—was the fastest way to develop my skills.
Each target you unearth teaches you how your detector sounds. Those scratchy, broken signals you might dismiss could be deep silver coins or gold jewelry.
Early on, I’d often find valuable items that others had walked over because they were only digging “perfect” signals. Keep a record of what you find and the signals they produced.
18. Listen for Faint Signals
Faint signals often lead to the most rewarding finds. These subtle tones can indicate deeply buried treasures or ancient items.
Don’t be quick to dismiss broken or inconsistent signals. They might be valuable targets partially masked by mineralization or nearby trash.
When you hear something questionable, investigate from multiple angles. Swinging over the target from different directions can strengthen the signal.
I always take my time with these whispers from below—they’ve led me to some of my best finds.
19. Grid Your Search Area
Systematic gridding is a huge advantage. When I first started, I’d wander randomly, missing targets.
Now, I mentally divide every hunting ground into sections, typically 10×10 foot squares, and methodically work through each grid.
I use landmarks like trees as reference points or lay out physical markers. I sweep each section with overlapping passes before moving to the next.
This approach ensures I don’t miss spots, and it’s especially valuable at productive sites.
20. Hunt After Rain
Your success rate can dramatically improve after a good rainfall. Wet soil enhances conductivity, allowing your detector to penetrate deeper than in dry conditions.
Targets buried 8-10 inches deep in dry soil might become detectable at 12-14 inches after a soaking.
Rain also washes away surface soil, potentially exposing items. I recommend hitting the beach after a storm when waves have shifted the sand.
Just be mindful of your equipment and wear proper waterproof gear.
21. Consider Early Morning or Late Evening Hunts
Timing your expeditions for early morning or late evening offers distinct advantages.
Beaches and parks are significantly less crowded during these hours, giving me uninterrupted access to prime spots.
The low-angle sunlight can help spot ground disturbances you’d miss in harsh midday light. These quieter hours also improve your ability to hear faint signals.
For summer hunting, these times also offer more comfortable temperatures.
22. Return to Hunted Sites
Never revisiting hunted sites is a common mistake. Returning to previously searched locations has yielded some of my most valuable finds.
Weather conditions, ground erosion, and seasonal changes can expose targets that weren’t detectable on your first visit. After heavy rain or frost, coins might shift into detectable range.
Your skills also improve over time, allowing you to hear signals you previously overlooked. Try approaching familiar sites from different angles or with new grid patterns.
23. Always Get Permission
The single most important rule in metal detecting is securing proper permission before searching any private land.
Detecting without explicit approval isn’t just illegal; it’s unethical and damages our hobby’s reputation.
When approaching landowners, dress neatly, be clear about your intentions, and offer to share interesting finds. A written agreement protects both parties.
Always respect boundaries and follow the rules of public properties, which may require permits.
24. Leave No Trace (Fill Your Holes!)
Every responsible metal detectorist must practice proper hole-filling techniques to maintain our hobby’s reputation.
I can’t stress this enough. Always carry a digging tool that allows you to cut clean plugs.
When I dig, I place the dirt on a towel to prevent a mess. After retrieving your find, carefully replace the plug, pressing it firmly to ensure no visible gaps remain.
In grassy areas, gently step on the replaced plug to secure it.
25. Join a Club or Online Community
Joining a metal detecting club or online community can dramatically accelerate your learning curve.
Connecting with fellow enthusiasts provides invaluable insider knowledge about productive hunting spots that aren’t common knowledge.
In these communities, you’ll learn about local regulations and gain access to group permissions. Members often share finds, creating motivation and friendly competition.
Many clubs also organize group hunts, turning a solitary hobby into a shared adventure.
Conclusion
Success in metal detecting comes from continual learning and respect for both land and history.
These 25 tips will help you maximize your finds while maintaining ethical standards. Remember, it’s not just about what you discover, but how you contribute to preserving our shared heritage.
Happy hunting!
Author Profile
Piotr Lesniewski
"Digging up the past, one signal at a time."
Polish-born, Scotland-based, and obsessed with the beep. My passion began decades ago, exploring fields with my Dziadek (grandfather). Now, with over 10 years of digging under my belt, I'm here to share everything I've learned—unfiltered and unbiased—to help you unearth your own piece of history. No sales pitches, just real field experience.